Description
This will be a step-by-step guide on how to install Ivanti for both Mac and Windows devices.
Requesting Access
Once you have navigated to https://vpninfo.jh.edu/ and signed in please locate the request VPN Access Button
The page will auto load your information in a few seconds, and you will not need to enter your phone number.
There will be a box for you to agree to the terms of use for the VPN near the bottom of the page, and you may need to input a reason for the VPN. You can just state you are a School of Nursing Student and need the VPN for class.
Once that is checked off, you can click the submit button on the right side of the page.
Once submitted, you are free to exit out of the that page and navigate back to https://vpninfo.jh.edu/
Installation
Please locate the correct version of installing the VPN. In this case you will be selecting the New VPN Client Installs Only option.
Windows Users
As stated previously, please use Microsoft Edge as the VPN will be blocked if you are attempting to use Google Chrome.
Click the Windows button
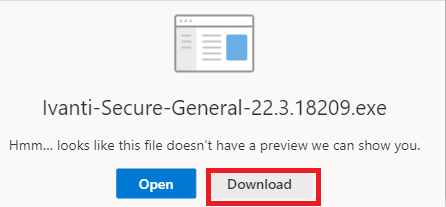
Click the Download button on the next page
While Downloading, Edge will most likely try to block the download and will flag this as malicious. This is normal.
Please locate the download in your tool bar in Microsoft Edge
Once clicked it will expand the download list to show the Ivanti Download
Hover over the download the to show the more options button
Click Keep
This will pop up another menu that will give you the option to delete, cancel or a small button that states show more.
Click show more and there will be another option to keep anyway
You may need to click keep anyway once more if Microsoft Edge attempts to block it once more
Once the download has been cleared open the file
Once installed you will need to restart your device
MacOS Users
As previously stated, please use Safari as the VPN will be blocked if you are attempting to use Google Chrome.
Click the Mac OSX button
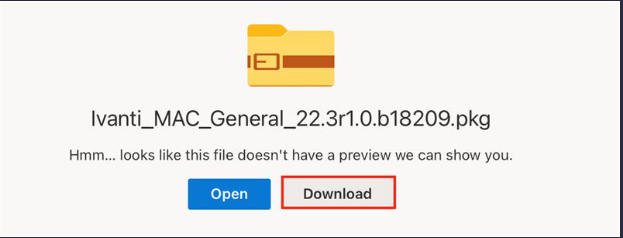
Click the download button
Click Allow
When you attempt to open the download you will receive an error that states the package cannot be opened. This is normal
Click Ok and locate the Apple Logo at the top left of your screen
Click the Apple Logo and click System Settings (System Preferences for the older versions of MacOS as you will have slightly different directions compared to the users whose MacBooks are updated. I will put instructions for you near the bottom of this section)
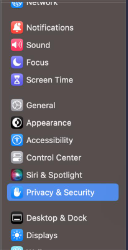
On the left hand side, scroll down to locate the Privacy & Security Button
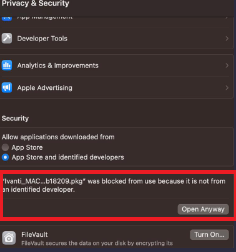
Once in the Privacy & Security section, scroll down the right side to locate the Open Anyway button
Click Open Anyway and Click Open once more to proceed with the installation
For those on the older version of MacOS please follow these steps
Once you click the Apple Logo click System Preferences
Locate the Privacy & Security button
Click the tab that says General
Click Open Anyway
Click Open once more to proceed with the installation
Connecting To The VPN
Windows Users
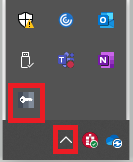
Locate the Chevron near the bottom right of the task bar and click that to expand the menu
Once expanded, click the Key icon to open Ivanti
Click Connect and proceed with connecting to the VPN
MacOS Users
Locate the Orange Icon near the Top Right of the Toolbar
Click the icon to open Ivanti and connect to the VPN


