How To Create A Digital Signature And Sign A Document With Adobe Reader DC
Creating a Digital Signature in Acrobat
- Open Adobe Acrobat and navigate to 'Edit' at the top. Click on 'Preferences'.
- Under Categories, click on 'Signatures'. Click 'More' next to 'Identities & Trusted Certificates'.
- Click 'Add ID'.
- Select ‘A new digital ID I want to create now'. Click Next.
- Select 'New PKCS#12 digital ID file'. Click Next.
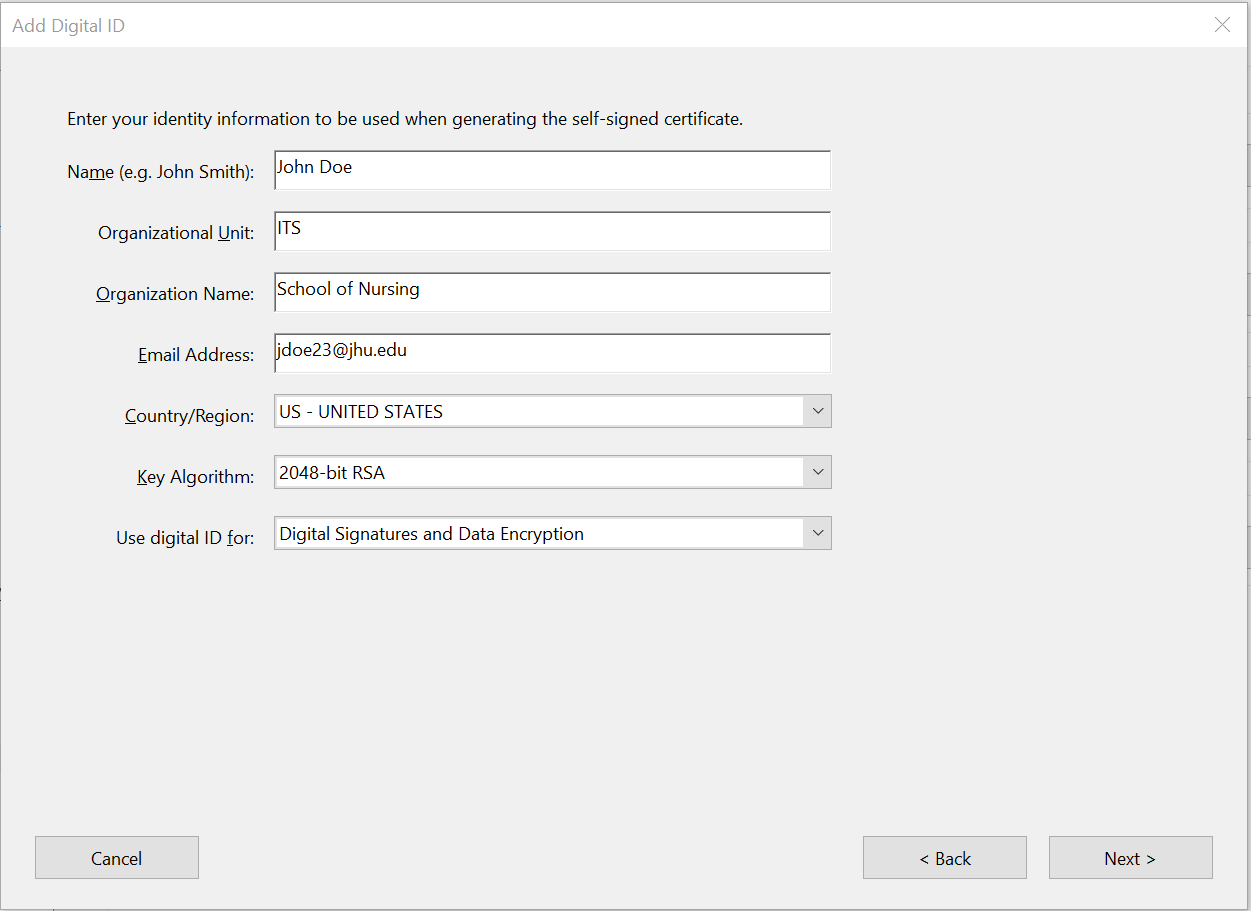
- Enter your identity information to be used when generating the self-signed certificate. Click Next.
- Do not change the 'File Name' path. Enter a 'Password' for your Digital ID and click 'Finish'.
Signing a PDF with a Digital Signature
- Open the PDF file that requires a digital signature.
- Click on 'Tools' and select 'Certificates'.
- Select 'Digitally Sign'. In the document, left click and drag out the area of the document where you would like the signature to appear. Click 'Sign'.
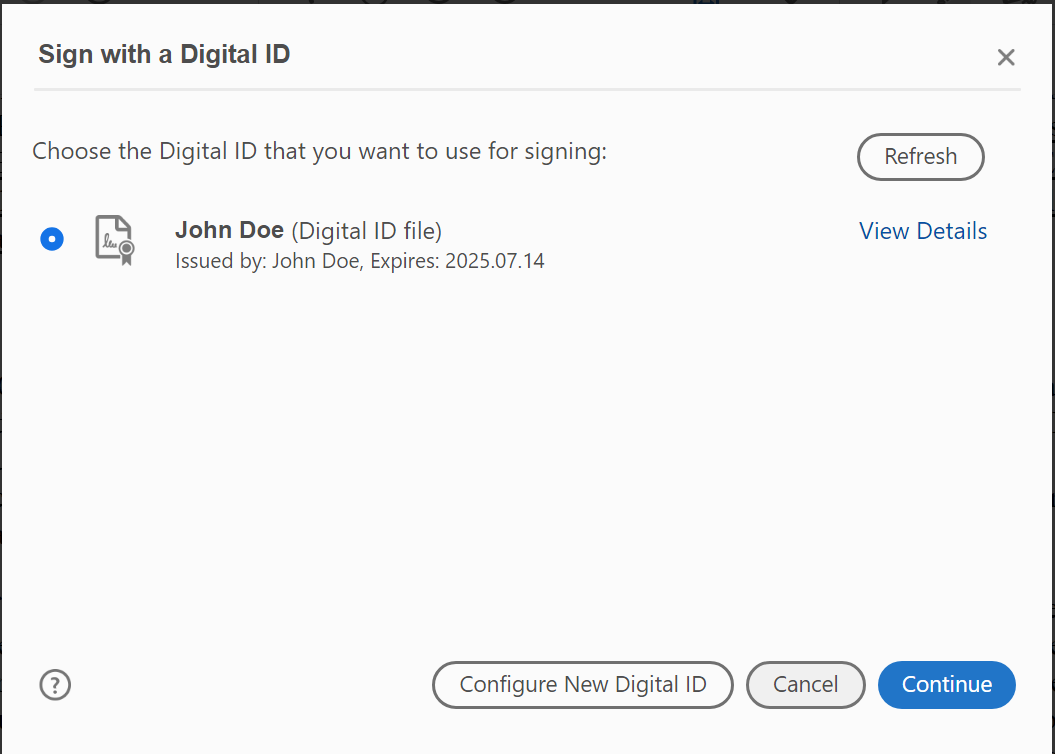
- Choose the Digital ID that you want to use for the signing. Click 'Continue'.
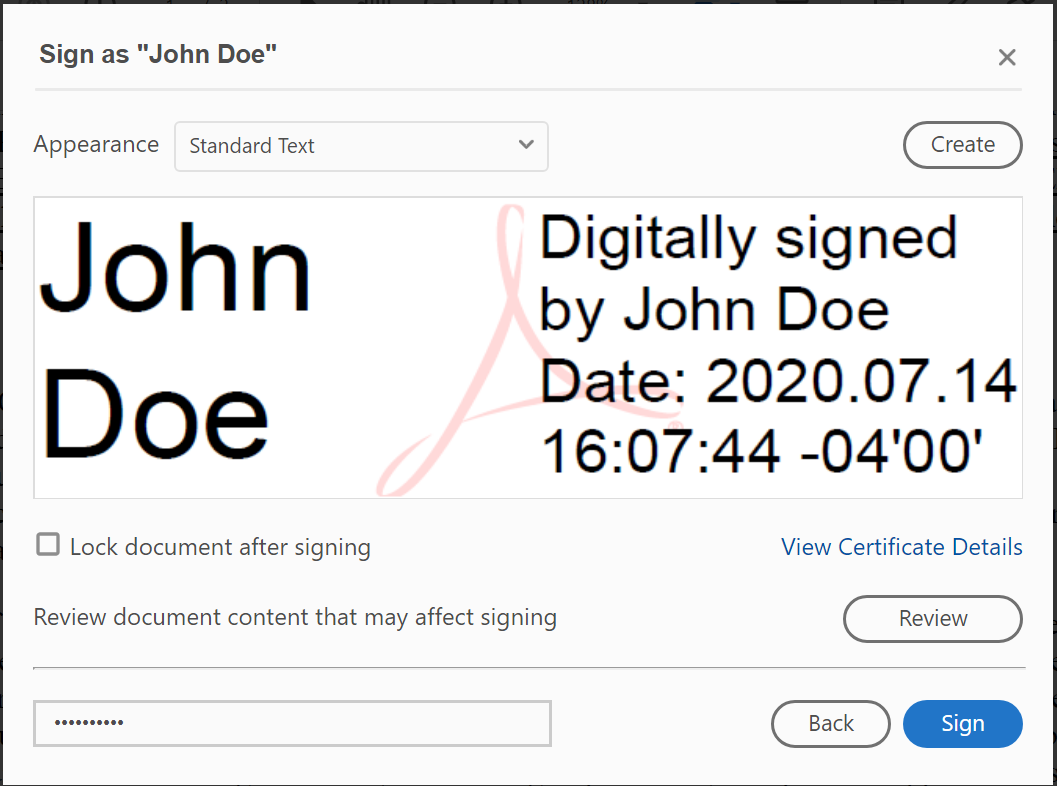
- Enter the password for the signature. Click 'Sign'.
IMPORTANT - If you want to ensure there are no changes made to the document after you sign it, make sure you select the "Lock document after signing" check box.
- Save the document.