Download and Install the Printer Software
Windows Installation Instructions
- Please use the Microsoft Edge web browser
Follow this link to download the installer Student Printer Windows Installer (note you must be connected to the VPN or Hopkins WiFi network for this link to work)
Open the folder where you downloaded the file and run it (SON-Student SecurePrint_for_x64.exe)
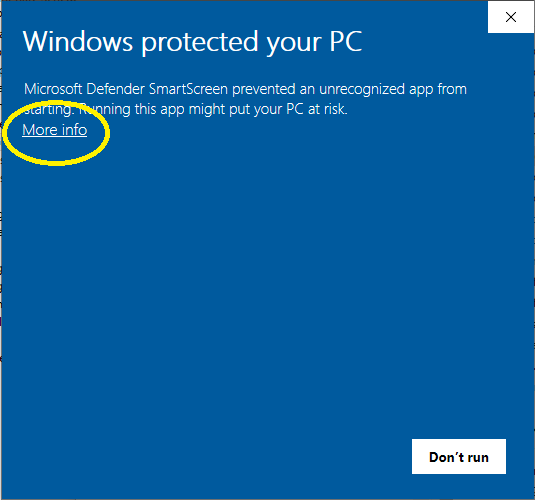
Depending on your
browser andoperating system, you may need
to approve the downloaded file and allow it to installto give additional approval to run the file. You might see a prompt like the one below. If you do, click the More info link and then click the "Run Anyway" button.
You should see a window like the one below. Click the Install button.

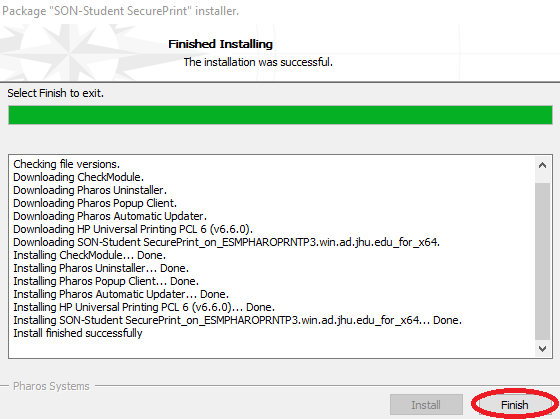
The installation might take a few minutes. When complete, click the Finish button.
 Install Software
Finish the Installation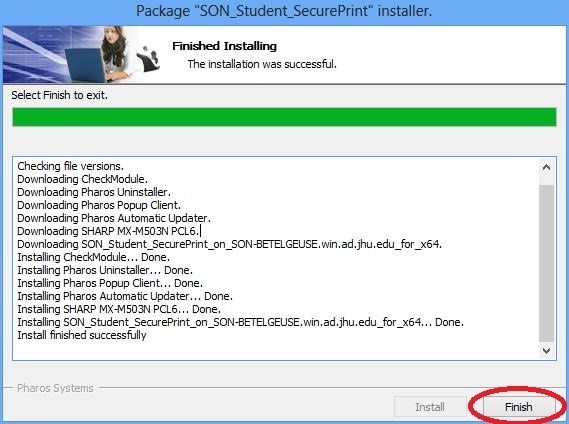 Select the "SON_
The Printer has been installed: SON-
Student SecurePrintAdditionally, you must follow these steps to enable the "Print As Image" option in Adobe Acrobat for the "SON_Student_SecurePrint" printer
Open a PDF
Choose Print
Student
_SecurePrint
" printerEnable "Print As Image" in Advanced settings (see http://helpx.adobe.com/acrobat/kb/quick-fix-print-pdf-image.html)
Send the job to the printer. Note you are not charged for print jobs that you do not release at the printer, but you must send the job to the printer for Adobe to save this setting for all future print jobs.
Instructions on how to print and retrieve print jobs can be found here: SON Student Printing Instructions
...